


- YD
- China
- 10 days
- 100000 pcs
[product material]: high quality stainless steel
[customized products]: it can be customized based on the special size based on sample or detail drawing
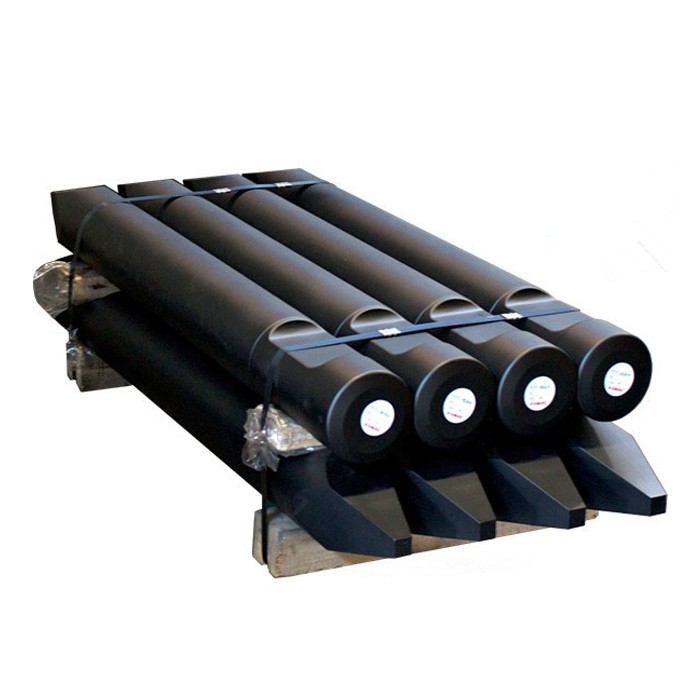
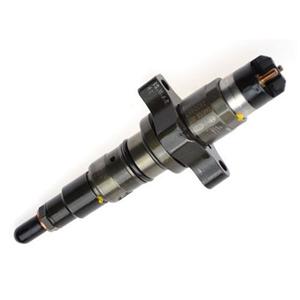
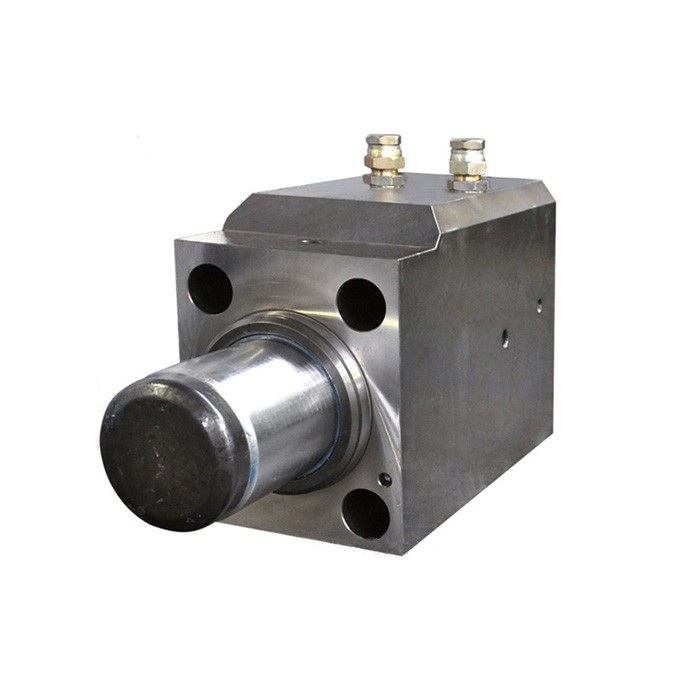
Hydraulic breaker cylinder
[product name]: Hydraulic breaker cylinder
[product brand]: ATLAS-COPCO、MONTABERT、STANLY、CHICAGO 、KRUPP、CAT 、KENT、NPK 、SOOSAN、JCB 、VOLVO 、FURUKAWA 、TOKU, etc.
[product model]: universal accessories, we could supply all brands and models of Hydraulic breaker cylinder
[product material]: high quality stainless steel
[product size]: international common size
[product price]: factory outlet
[customized products]: it can be customized based on the special size based on sample or detail drawing
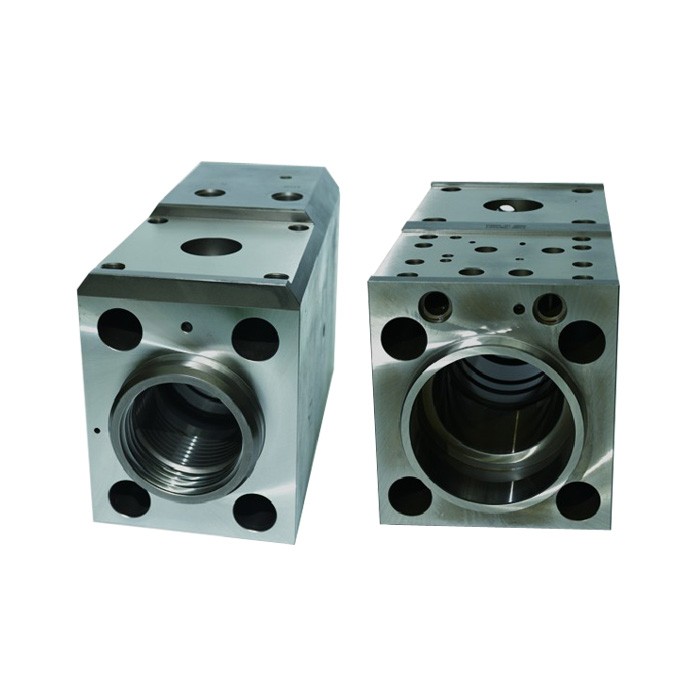
Middle cylinder assembly
Middle cylinder assembly accessories:
Cylinder block
Cylinder regulator
Steamed corn-bread plug
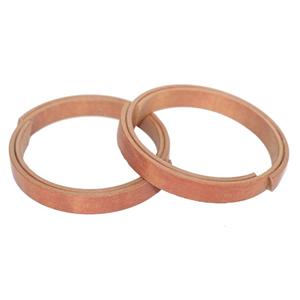
Steel Wire threaded sleeve
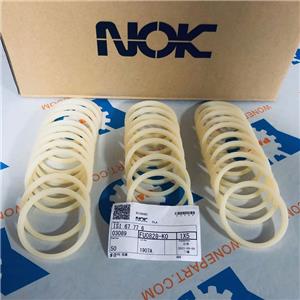
Oil seal
Piston
Oil seal holders, etc., the cylinder is the core part of the breaker/hydraulic hammer, which is especially important in assembly.
Assembled as follows:
1. Lay the cylinder flat and install the wire screw sleeve with the special tool in the threaded hole of the cylinder block. The end face of the wire screw sleeve should be lower than the thread section.
2. Clean the cylinder. When cleaning the cylinder, pay attention to the cleaning of the cylinder chamber and the oil passage hole. After cleaning, dry it with high-pressure air. Check the cleanliness of the oil passage hole with a flashlight.
3. Install the oil seal. The lower end of the cylinder is lined with three oil seals. From the outside to the inside, it is dust-proof oil seal, main oil seal and buffer oil seal. Before the oil seal is installed, the oil seal is applied with hydraulic oil. The direction of the oil seal cannot be reversed. The buffer oil seal is composed of an oil seal and a support ring. The chamfered side of the support ring is attached to the oil seal and cannot be reversed.
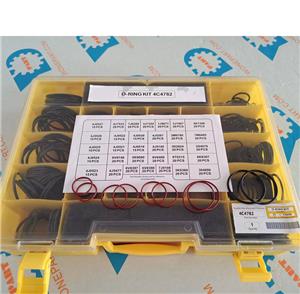
4. Install the O-ring on the socket plug and install it on the cylinder. The plug should be tightened to prevent oil leakage.
5. Lift the cylinder to the lower cylinder and install the joints into and out of the oil port. Screw the rubber and apply the screw on the side and back.
6. Install the cylinder regulator. There is an O-ring and a support ring on the cylinder regulator. Cut the support ring with a blade and cut it into a diagonal groove. Install the grease behind the O-ring and install it on the side. Tighten. Then remove it, check if the oil seal is damaged, check whether the contact indentation is uniform, and then tighten it to spray the hydraulic fluid on the cylinder cavity.
Waiting for the piston.
7. Install the soft bushing. There are five oil seals on the soft bushing. They have the same diameter and different shortcuts. Pay attention to the selection. Apply grease to the O-ring and the soft bushing and install it on the cylinder, waiting for the upper cylinder to be installed.
8. Piston installation, after cleaning the piston, the compressed air is dried, the surface is evenly sprayed with hydraulic oil, the piston is slowly put into the cylinder, do not touch the cylinder cavity, after the piston is reciprocated Three times, in order to prevent the oil seal from being crushed.
9, the piston ring (piston holder) installation, the outer ring of the outer valve piston ring from top to bottom is: gas seal, two Sterling seal. The outer ring is two O-rings with a support ring. Note that the oil seal on the piston ring is first coated with hydraulic oil. The end face of the pressure relief oil groove of the Sterling seal is facing the direction of the pressure oil. When installing, the seal is not too sharp to prevent deformation from being restored. The oil seal on the outer ring has two support rings, two seals and an anti-wear ring. Note that the side of the anti-wear ring with the drain groove is facing away from the direction of the pressure oil. The outer ring and the upper and lower end faces each have an O-ring. Put the piston ring on the piston, hit the end face of the piston ring and let it enter. Be careful not to damage the oil seal during installation. Install the built-in piston, put the O-ring at the lower end, install the piston, knock the piston into place, and then place the O-ring at the upper end of the piston. After installation, pour the right amount of hydraulic oil into the end face of the piston. Use the common sense of the broken hammer steel, install the positioning pin, and wait for the dark yellow nitrogen chamber.